Easy 4-Ingredient Snickers Truffles (Vegan & No-Bake!)
Looking for a quick, healthy, and indulgent treat? These homemade 4-ingredient Snickers truffles are the perfect bite-sized snack to satisfy your sweet tooth—and trust us, they won’t last long! Packed with real ingredients and naturally sweetened with dates, they’re ideal for a midday energy boost or an after-dinner dessert. Best of all, they’re super simple to make, no baking required!

Ingredients:
- 1 cup roasted peanuts (unsalted or lightly salted)
- 1/4 cup creamy peanut butter (natural works best)
- 12 Medjool dates, pitted and soaked in hot water for 10–15 minutes
- Melted dark chocolate (use dairy-free chocolate for a vegan version)
Optional toppings:
- Crushed peanuts
- Flaky sea salt
Instructions:
-
Prepare the Dates: Soak the dates in hot water for about 10 to 15 minutes. This softens them up and makes them easier to blend, giving your truffle mixture a smooth, sticky texture.
-
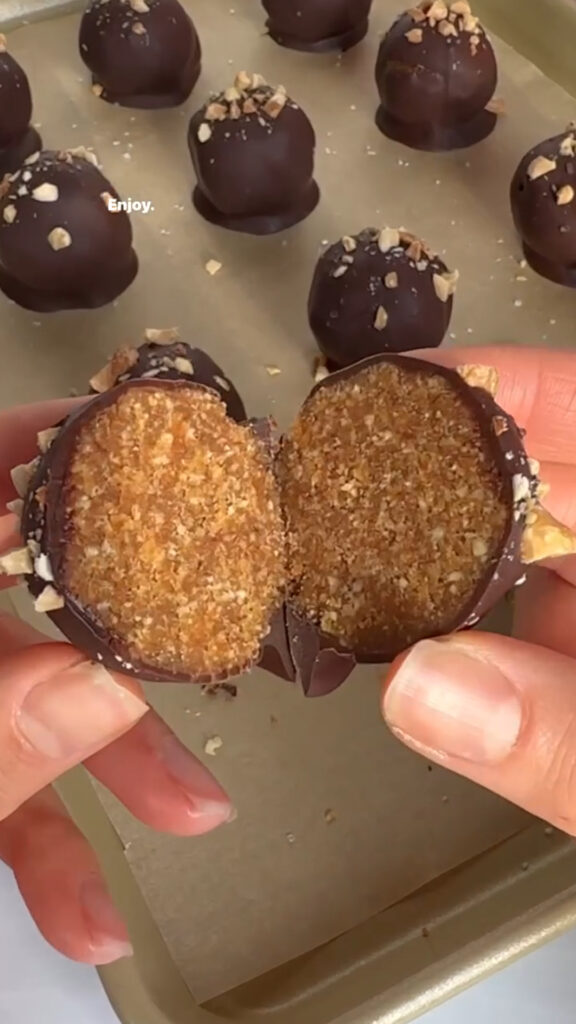
Blend the Base: In a food processor, add the roasted peanuts, creamy peanut butter, and soaked dates. Pulse until the mixture becomes crumbly but sticky enough to form into small balls. The mixture should easily hold together when pressed.
-
Form into Balls: Using a spoon or your hands, shape the mixture into 12 small balls. Place them on a plate or tray lined with parchment paper.
-
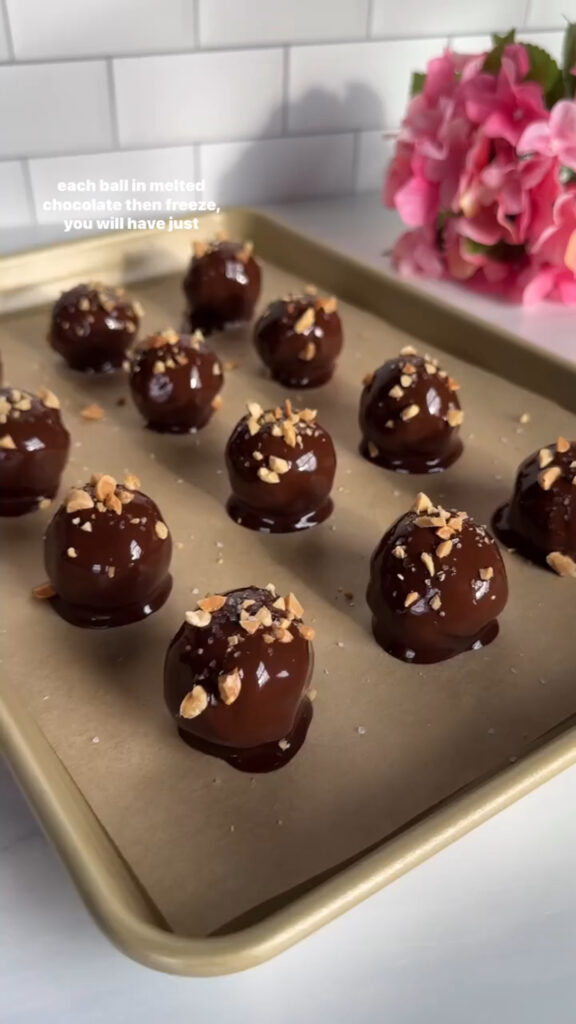
Dip in Chocolate: Melt the dark chocolate in a microwave or using a double boiler. Dip each peanut-date ball into the melted chocolate, ensuring it’s fully coated, then place it back on the parchment-lined tray.
-
Add Toppings: While the chocolate is still wet, sprinkle the tops with crushed peanuts and a pinch of flaky sea salt for that classic Snickers crunch and flavor.
-
Chill & Serve: Transfer the tray to the freezer and let the truffles set for about 10–15 minutes or until the chocolate has hardened. Once set, enjoy immediately or store them in the fridge for a cool treat anytime!

These no-bake Snickers truffles are vegan, gluten-free, and made with wholesome ingredients—perfect for healthy snacking or impressing guests with minimal effort. Pin this recipe or share it with friends who love easy homemade desserts!


